


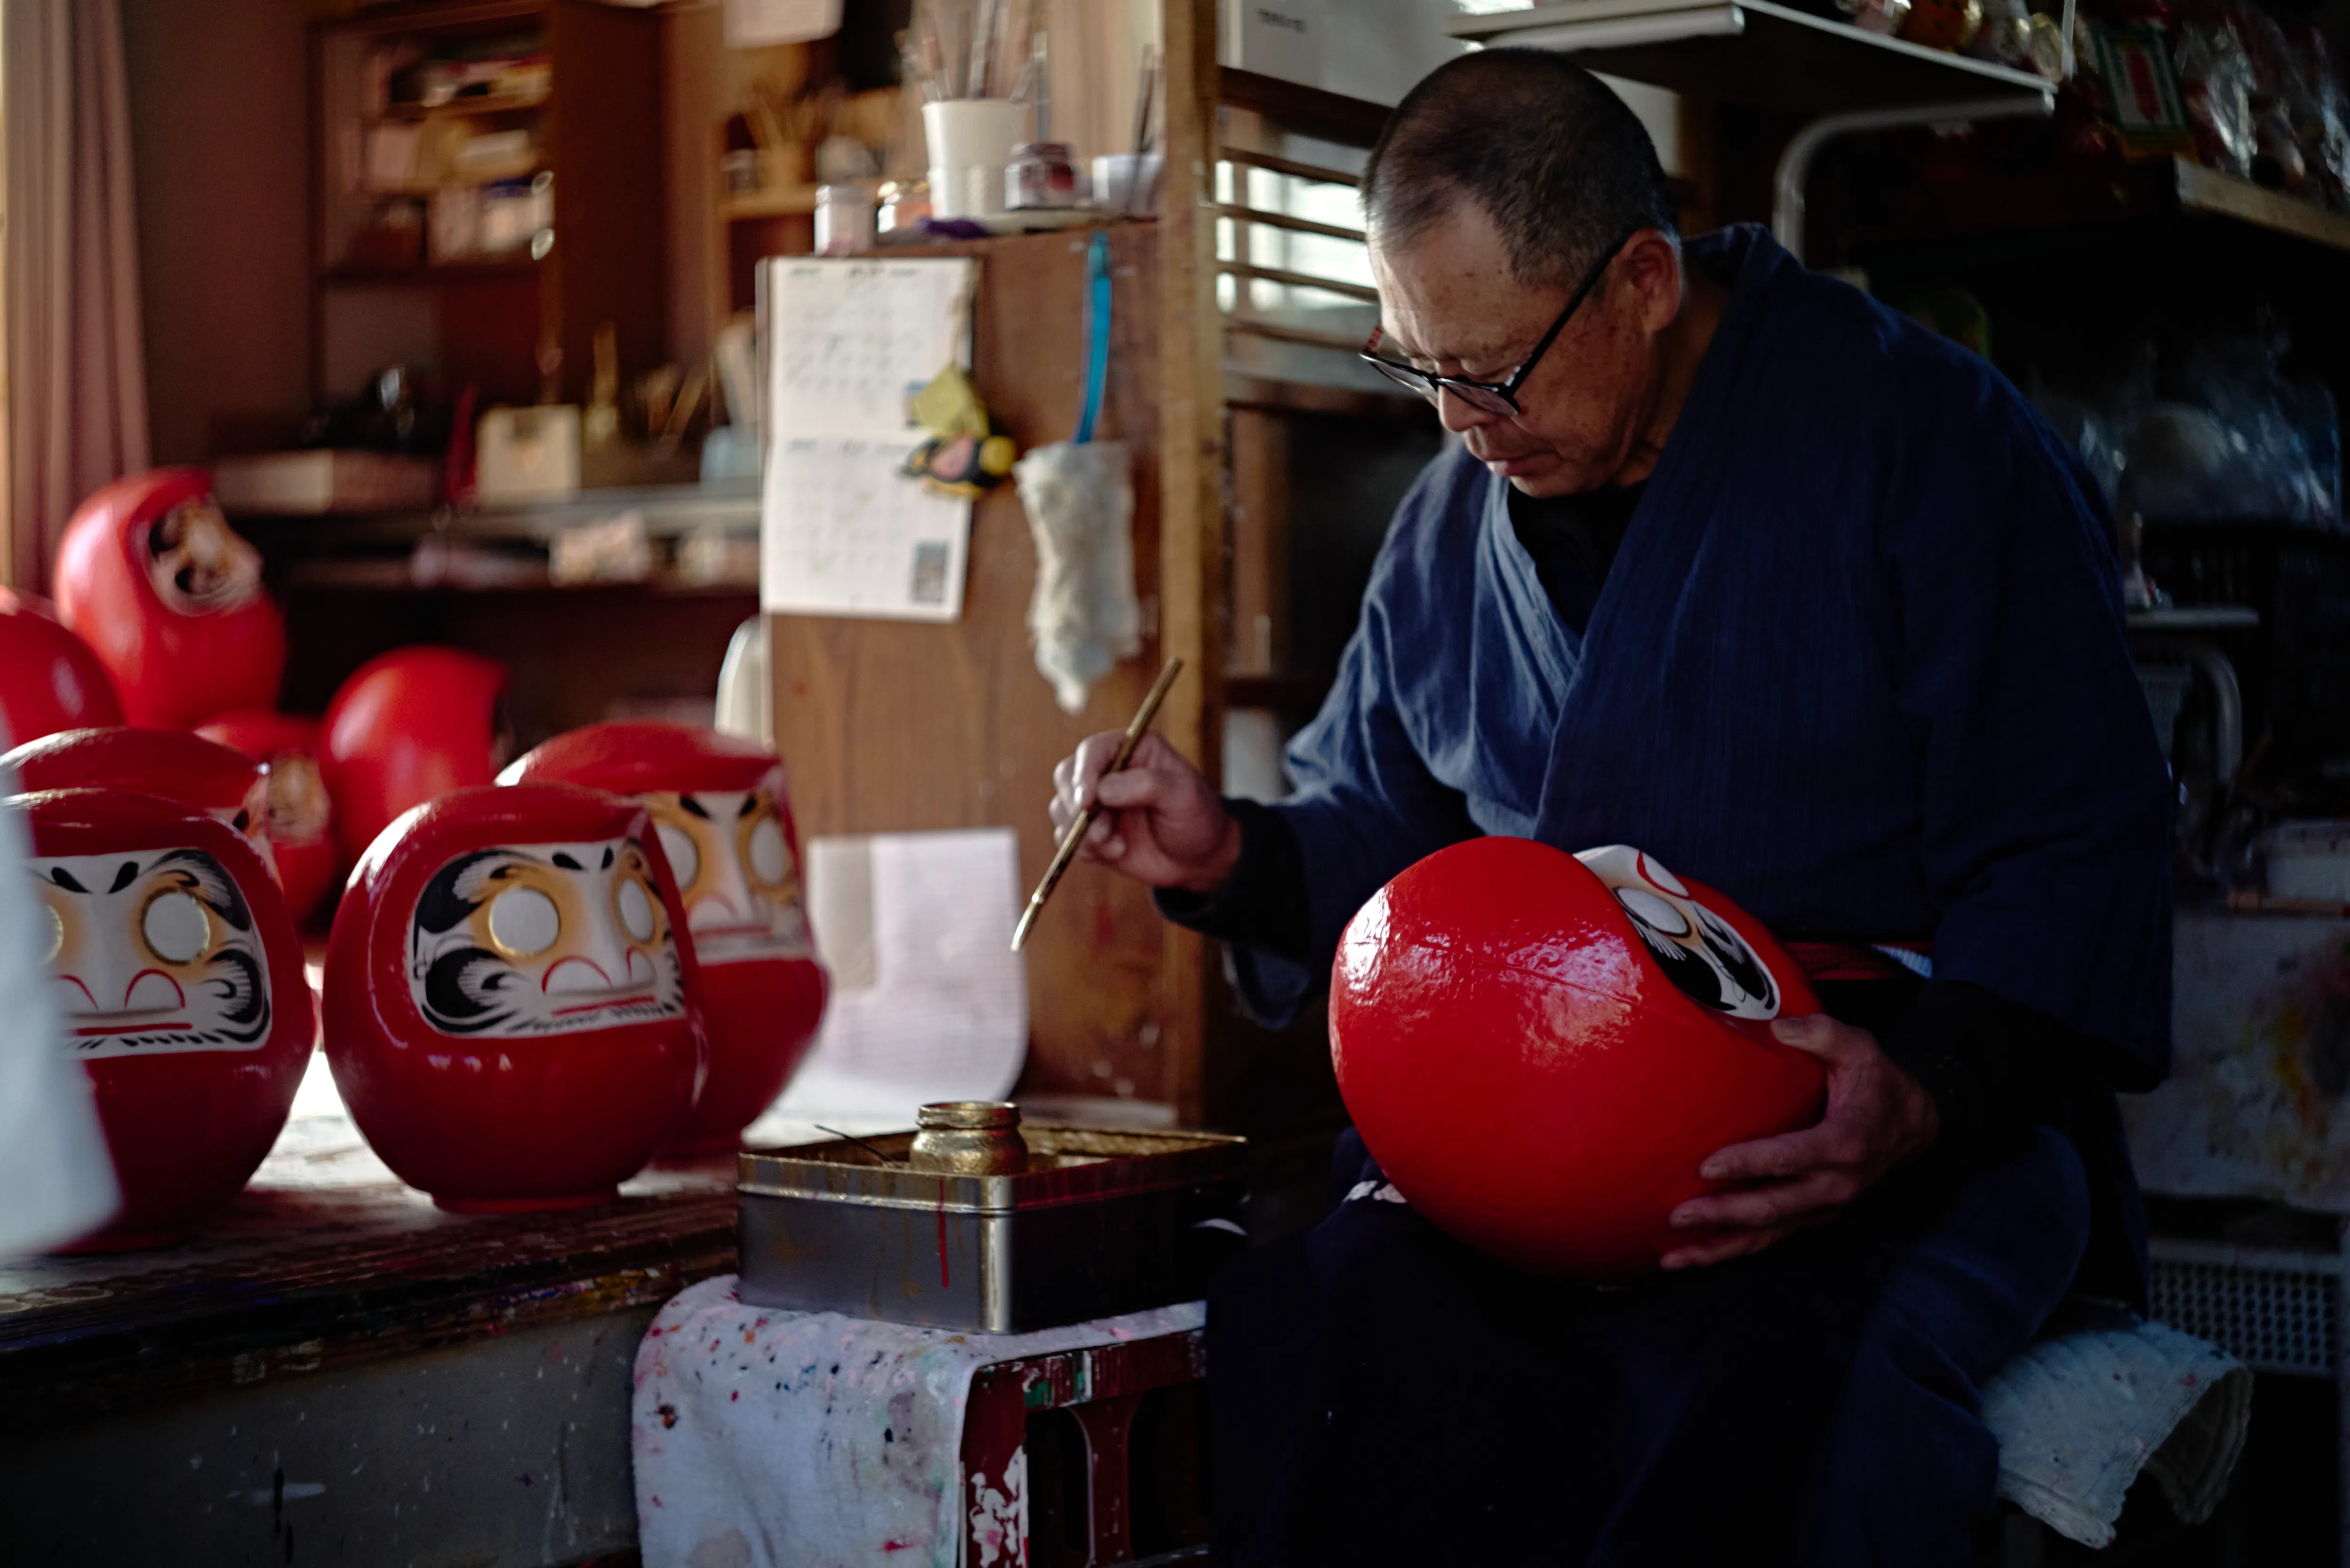

To paint a Daruma at home, begin with a blank figure and a simple plan. Apply the main colors in thin coats, let them dry, and add the face and fine lines last. Leave both pupils blank while you decorate. When the painting is finished and you are ready to name your goal, fill in the first pupil.
A blank Daruma or complete kit is the easiest starting point. Building the rounded paper body from scratch is a separate craft; our guide to making your own Daruma compares that option with a kit and a workshop.
How to Paint a Daruma Doll
| Step | What to do | Why it matters |
|---|---|---|
| 1 | Choose a blank Daruma, kit, or workshop format | The setup changes the tools and expectations |
| 2 | Plan the design before opening paint | A rounded body is easier to paint with a simple layout |
| 3 | Paint the large body areas first | Details look cleaner over a dry base |
| 4 | Add the face and fine lines second | Small lines need a stable painted surface |
| 5 | Let the Daruma dry fully | Curved paper-based surfaces smudge easily |
| 6 | Paint the eye after the body is finished | Eye painting belongs to the goal ritual, not the first paint layer |
These steps cover the body, face, and details of a blank Daruma. The pupils belong to the later goal ritual; if that is the part you need, read which Daruma eye to paint first.
Blank Daruma Doll Painting: Setup and Tools
You do not need many materials to paint a blank Daruma well. A simple setup is better than too many tools.
| Tool or material | Why you need it |
|---|---|
| Blank Daruma | The body to paint |
| Acrylic paint | Beginner-friendly paint for many paper-based craft surfaces |
| Flat brush | Larger body areas |
| Small detail brush | Face, whiskers, symbols, and fine lines |
| Acrylic paint marker | Optional help for outlines or lettering |
| Water and cloth | Brush cleaning and quick cleanup |
| Palette or disposable plate | Mixing and controlling paint amount |
| Pencil | Very light guide lines if needed |
| Table cover | Protects the work surface |
If you plan to seal the finished surface, use a clear acrylic varnish only after the paint is fully dry and only if it is compatible with your paint and Daruma surface.
Daruma Painting Steps
Work from broad areas to fine details so that your hand rests on dry paint as often as possible.
- Decide the theme, color, and any writing before painting.
- Cover the table and set up a stable drying place.
- Test the paint or marker on scrap material if possible.
- Paint the largest body color or background areas first.
- Let the first layer dry before adding more paint.
- Add face outlines, eyebrows, whiskers, and small details.
- Add lettering or symbols only after the base is dry.
- Let the finished Daruma dry fully.
- Move to the first-eye ritual only after the painting is complete.
If a line goes wrong, let it dry before covering it. Trying to wipe wet paint from a paper-based surface can spread the mark or damage the finish.
What Paint Works Best for a Daruma?
Acrylic craft paint is often a practical choice for a paper-based blank Daruma because it can be built up in thin layers. Surfaces and factory coatings vary, so follow the maker's instructions and test the paint on an inconspicuous spot when possible.
Acrylic paint markers can make small lettering, outlines, and symbols easier. Use them only after the base coat is completely dry, and test the flow on scrap paper before touching the figure.
Avoid very watery paint. A paper-based surface can absorb extra water unevenly, which makes color harder to control and can soften the surface. If you thin acrylic paint, thin it lightly and build color in layers.
For the craft process behind the blank body, read how Daruma dolls are made.
Plan the Design Before You Paint
Before opening the paint, decide on one main color and sketch where the face, symbols, and lettering will sit. A simple layout is easier to carry around the curved body than several unrelated ideas.
If your design includes writing, choose the word before painting details. For examples of what to write on a Daruma, use a short word or phrase that matches the goal.
For a traditional look, use bold eyebrows, facial hair, and dark outlines. Small differences are part of a hand-painted result, so the two sides do not have to match perfectly.
Paint a Daruma Doll: Large Areas Before Details
Start with the broadest shapes: the main body color, background color, or large decorative areas. This creates a clean base for the later facial lines.
Use thin coats instead of one heavy coat. Thick paint dries slowly, smudges more easily, and can look uneven on a curved paper-based surface. Thin coats help you build smoother coverage.
After the large areas are dry, move to the face, outlines, and smaller decorations. Use a small brush or paint marker and build lines with short, controlled strokes.
Daruma Eye Painting: After the Body Is Dry
Daruma eye painting should happen after the body painting is complete and dry. The eye is part of the goal ritual, not just another decoration step.
The usual pattern is to paint one eye when you set a goal, then paint the second eye when the goal is fulfilled. If you paint the eye before the body is finished, the ritual can feel rushed and the wet surface is easier to damage.
For the full eye-order explanation, read which Daruma eye to paint first. For the full ritual after painting, read how to use a Daruma doll.
Common Mistakes
Do not start with the face. The face has the most visible lines, so it is easier to paint after the broad body color has dried.
Do not use paint that is too watery. Papier-mache and other paper-based surfaces can absorb moisture quickly, which makes color spread or dry unevenly.
Do not rush drying time. Dry to the touch is not always fully dry, especially if you used thick coats or painted in humid conditions.
Do not treat the eye as decoration. Finish the body first, let the Daruma dry, then begin the eye ritual when the goal is ready.
Common Questions About Painting a Daruma
What kind of paint works best on a Daruma?
Acrylic craft paint is often easy for beginners to layer on a paper-based blank Daruma. Paint markers can help with fine lines. Always check the instructions for the particular surface and paint you are using.
Should I sketch the design before painting?
Yes, if it helps you place the face, body color blocks, symbols, or lettering. Keep guide lines very light so they do not show through thin paint.
Can I repaint a finished Daruma?
You can repaint a finished Daruma, but it is usually cleaner to start from a blank Daruma if the goal is the painting process itself. Repainting depends on the original finish and the new paint.
How long should I let the Daruma dry?
Let each coat dry before adding the next one, and let the finished Daruma dry completely before handling it much or starting the eye ritual. Exact timing depends on paint thickness, humidity, and whether you add varnish.
Do I add the eye before or after painting?
After painting. Finish the body and face first, let the Daruma dry fully, and only then move to the eye ritual.
Finish the Painting Before Starting the Ritual
For broader background on Daruma meaning, colors, and cultural context, start with the complete Daruma guide.
Let the painted figure dry fully before handling it often or beginning the eye ritual. If you prefer to get the blank form, brushes, paint, and instructions together, see the Daruma Gift Experience. You can follow the same steps with your own compatible supplies.

